Tips: For the user manual and additional software (including CMS), please visit https://eseecloud.app/download/ to download.
Fast network
Step: Right-click the mouse in the main menu → Fast network → Choose Auto Config → Click OK. If you want to manually configure the IP address, click diagnose. If it shows a healthy network, it indicates the connection to the Internet is good. If there is a network anomaly, plz process according to the clew. (Ensure your device has accessed the network)

IPC Set UP
- Step: Right-click the mouse in the main menu → Click Video Manage → Click Refresh to search IPC → Two ways to add IPC:
- Click the IPC searched, then click add, IPC will add to the target channel
- Click Auto-add (Auto-add can add all the IPC searched to the channel list)
- Delete channel: Delete channel information
- Edit channel: Manually revise channel parameters (such as password of user name) Click OK to finish operation.

Preview of VR Camera
Double-click the image on the main interface—choose a different preview mode.


- Step 1: default preview mode
- Step 2: corridor mode
- Step 3: plane full view positioning in 3 split screen mode
Video detection
Step 1: Right click mouse in main menu→System setup→Record setup→Record plan→choose motion→choose all→click Copy to→click OK to save setting
Step 2: Right click mouse in main menu→System setup→Channel setup→choose Video detection→choose motion→click Enable→Click OK

Video Playback
Step: Right click on main interface→video playback→choose “channel”→choose “record mode”→setup “search time”→click “search”, click timeline to choose time→click “playback” to check recording file.


Video Backup
Steps: Right-click the mouse in the main menu→Video backup→choose channel No.→choose Record mode→In search time, input beginning time and end time→click search, and recording will come out→choose the video which needs to be backup→click video backup.
Tips: Support 32G U disk backup maximum, recording file will be packed every one hour.

Access in LAN
Step 1: Quick Networking—check the IP address of the device.

Step 2: The correct web port needs to be put in the web port is changed, such as the web port changed to 1111, then input http://192.168.1.247:1111

Step3: Once access successful, you can get the video

Tips: Please make sure the video recorder and computer are in the same network segment.
Access in WAN

Step1: Right-click the mouse in the main menu—Quick Networking—check the ID of the device.
Step 2:
Input http://www.dvr163.com on IE browser, input ID, user name, and password, and click log in.
Step 3:
Once you access it successfully, you can get the video.
Tips:
Video quality and fluency depend on the upload speed of the video recorder and the download speed of the computer; each channel needs above 30KB.

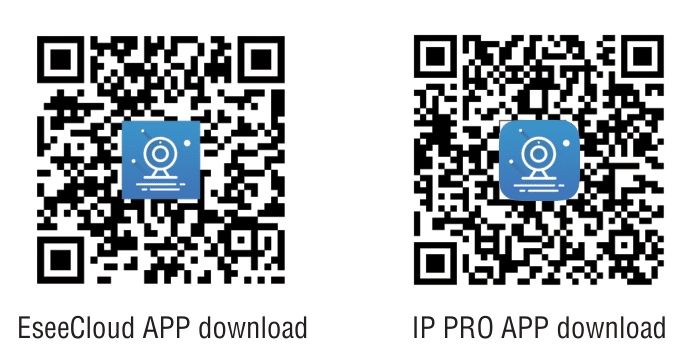
Mobile application download and installation
No. 1: Go to http://www.dvr163.com/download/indexm.php?p=ippro in a mobile browser, enter the download page, click install to download, and install the APP.
No.2: Please scan the QR code in the manual to download the APP.

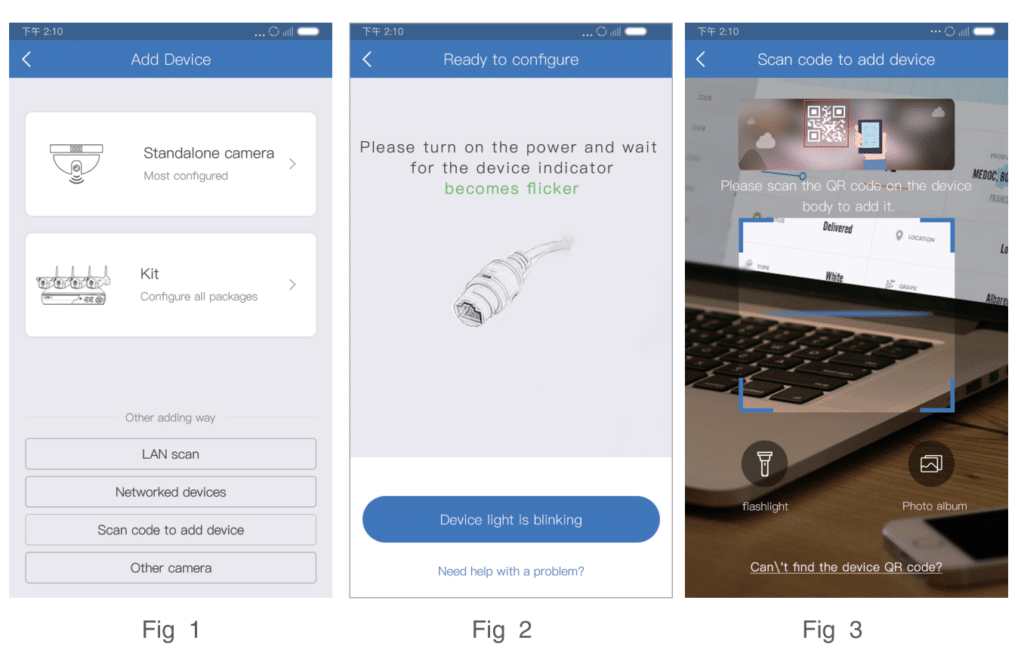
Esee mobile application (IP Pro)-Add device
- Step 1: Register and login
- Step 2: Enter the main interface
- Step 3: Add the device back to the main interface
- Step 4: Added successfully. Click channel No. to get video
- Step 5: Remote playback